So I bought a Repro Quantum Pcb last year. Got it populated and finished up. But no way to test it.
At about the same time a good friend of mine gave me a K6100 from a Space Duel. Said he wanted me to put it to good use. I re-built it and set it aside.
Fast forward to Feb 1st. My friend text me and tells me he found a working Atari Badlands in Dothan Alabama. And it was in a Quantum Cab in good condition. The guy wanted $300 for it.
Well, I texted the guy. Turns out he is a radio personality there in Dothan. He bought the game from FunSpot there in Dothan. He knew it was in a Quantum cab and he knew it was rare. But he wanted it to go to someone who would restore it.
He asked if I had anything to trade for it. Well, I had a working Space Invader that I got for $75. He was thrilled! We agreed on the trade and I picked it up on Feb 4th.
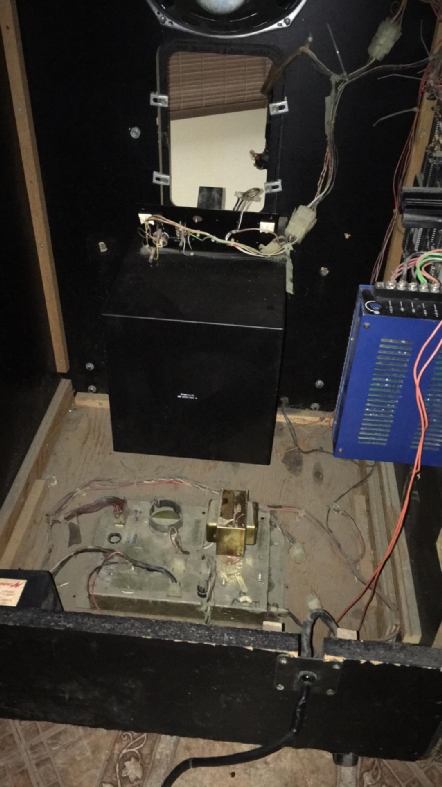
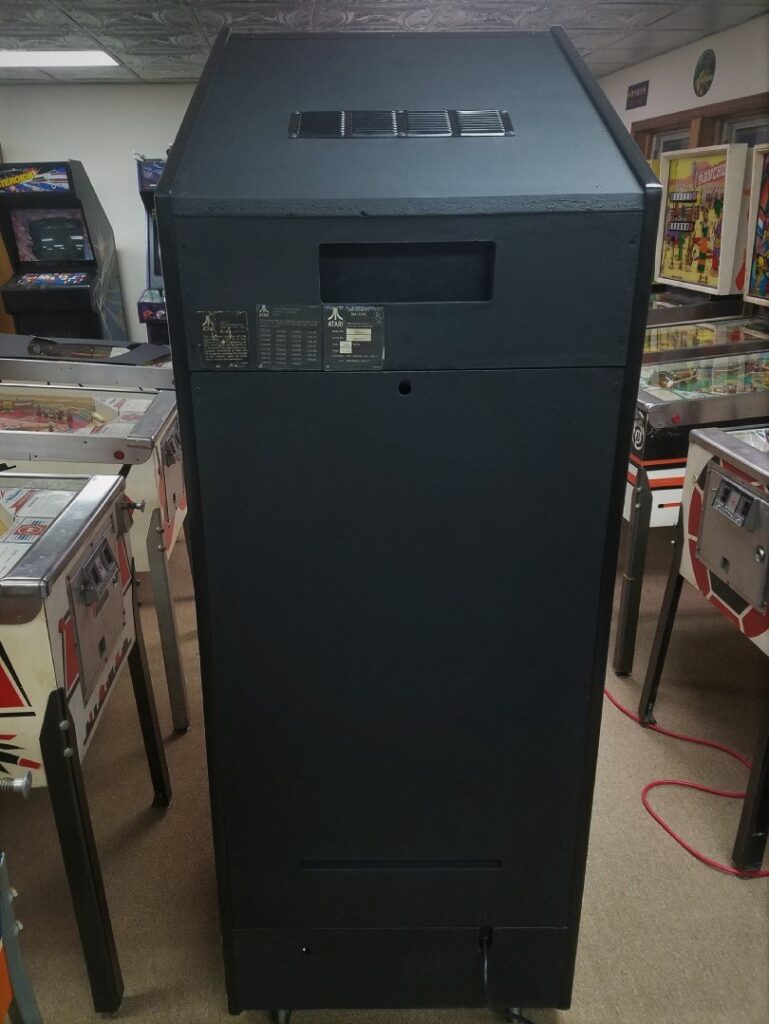
Here’s what it looked like when I got it.

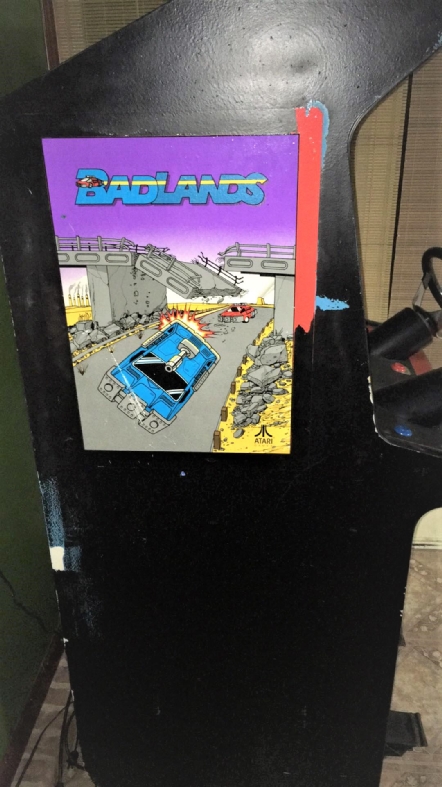

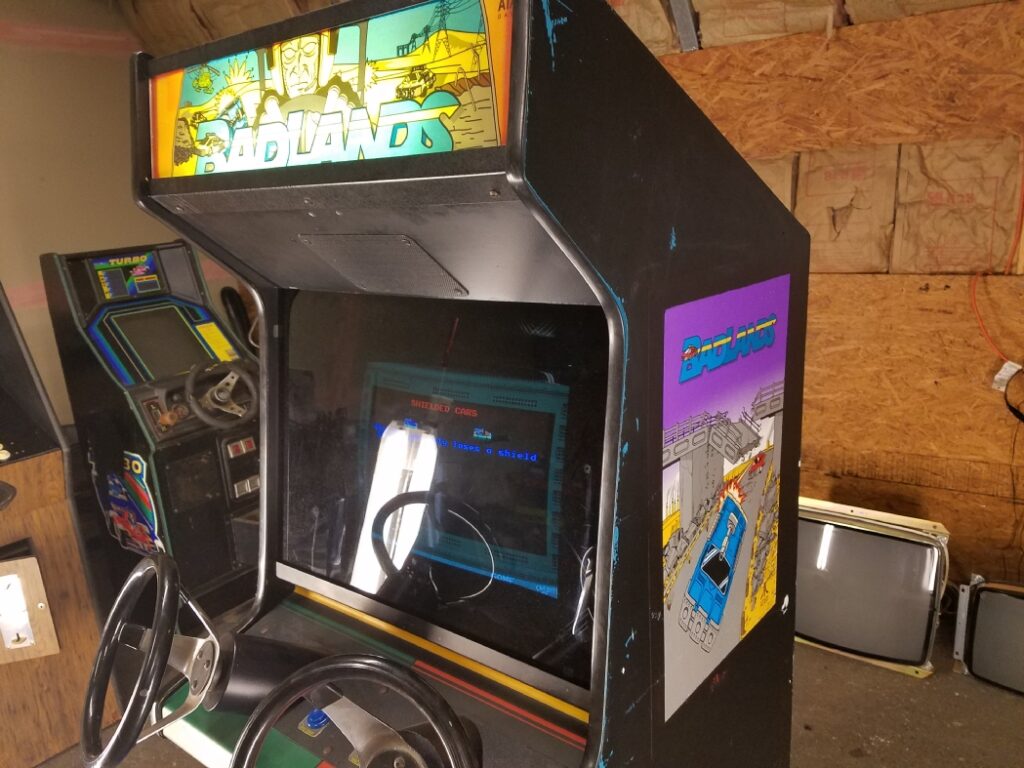


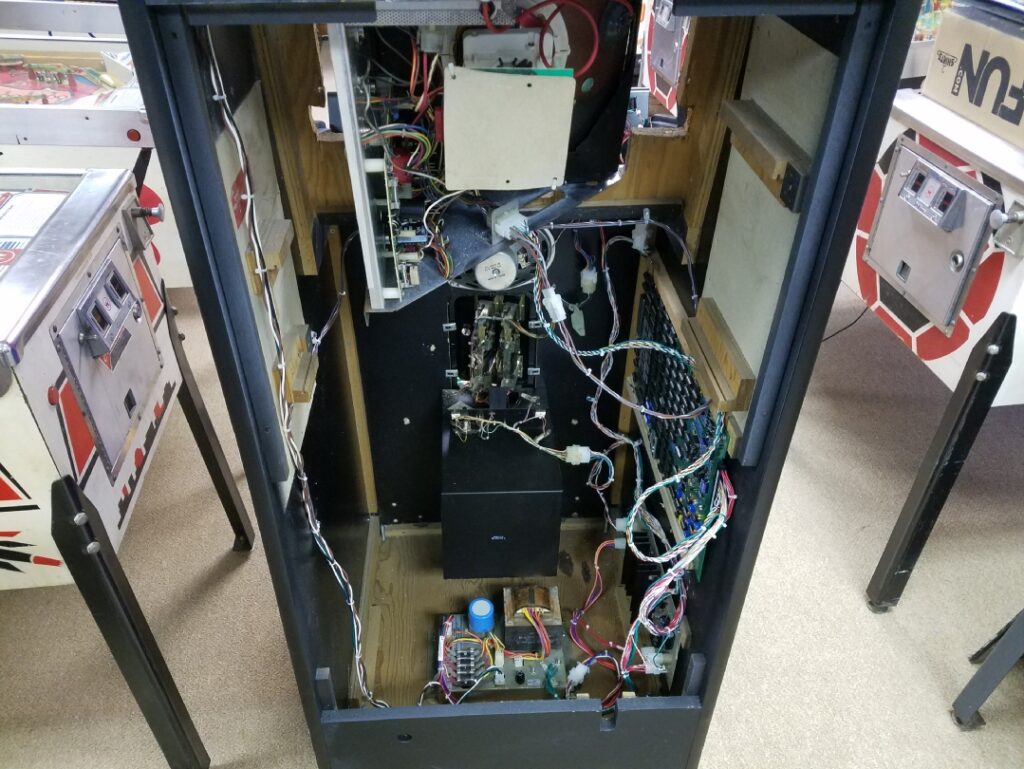
And some interior pics :


So the plan is to restore the cab completely. But you might have noticed the original artwork was under that black paint. So since it has to come off anyway I used CitriStrip and set to it.
The artwork was there but of course it had issues


The edges, bottom, and all-white artwork tattered or bubbled a bit. Well, I was planning on new artwork anyway.
So first things first, strip her down!

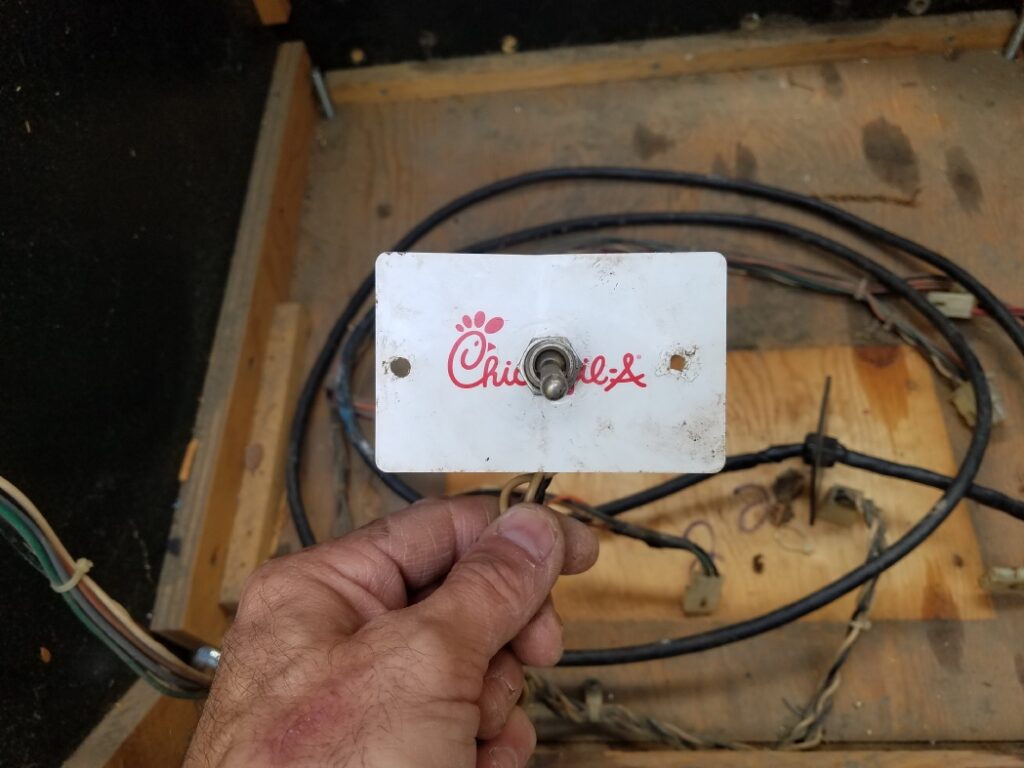
And while doing that you find some interesting things. Like did you know you can use a Chick-Fil-A card to hold the power switch? Well, apparently you can. LOL

Now that she’s stripped-down, let’s get her totally naked!
I used a heavy-duty scraper blade and some heat to get off the old artwork


But oh no! We have 13 holes in the front panel, from lock bars and foot pedals, that will need to be filled.

In order to fix the holes I cut 3/4″ pieces of a 3/8″ wooden dowel.

Then I used wood glue and sawdust and put the dowels in flush.
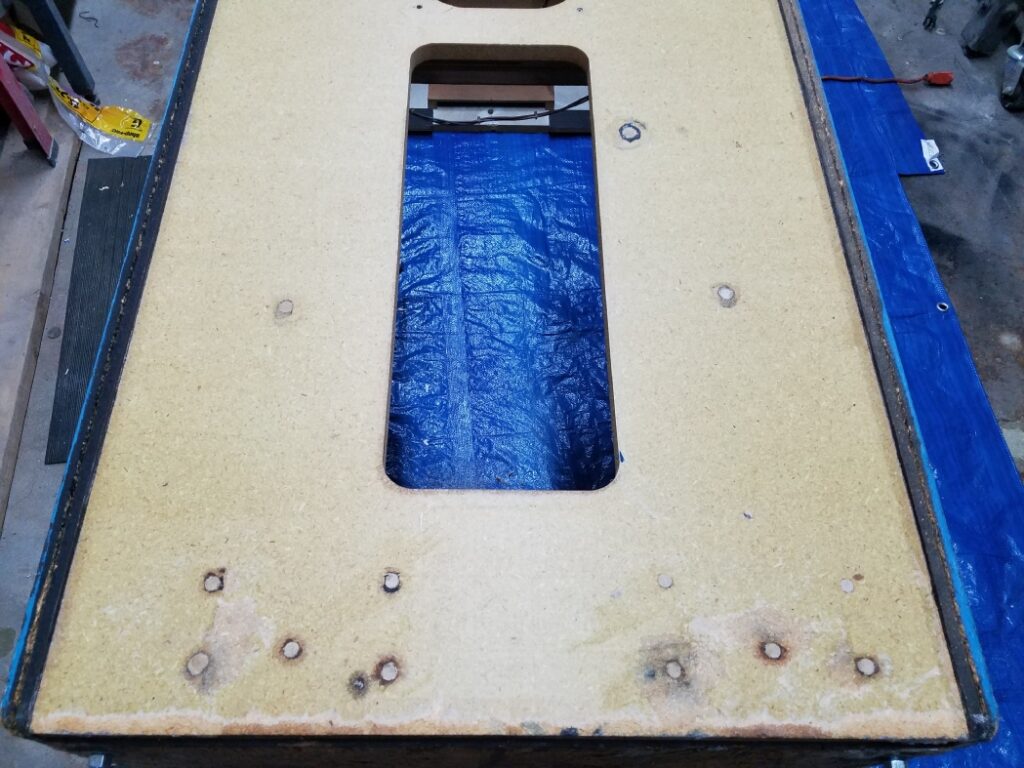
After that I put a piece of laminate on.

After I put on the artwork I will route out the coin door and speaker holes. The reason you do it that way is so the artwork is easier to put on. With big holes, it is much more difficult to install artwork.
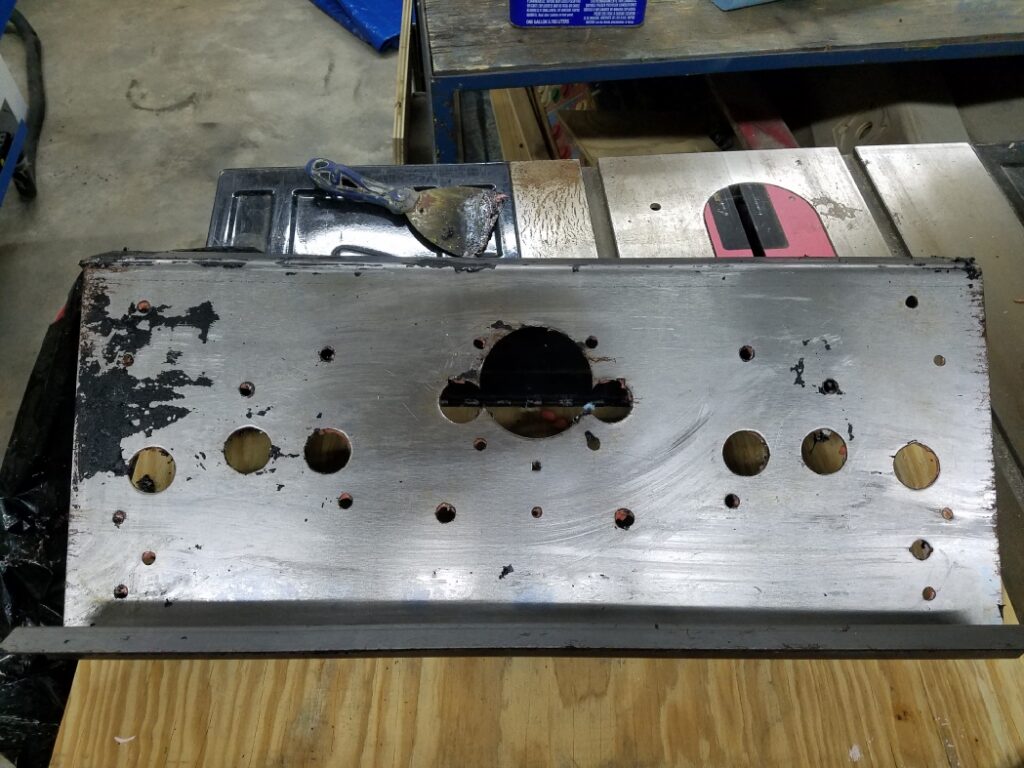
I was planning on trying to save the control panel but it may not be possible.
I will have to weld/fill over 24 holes!
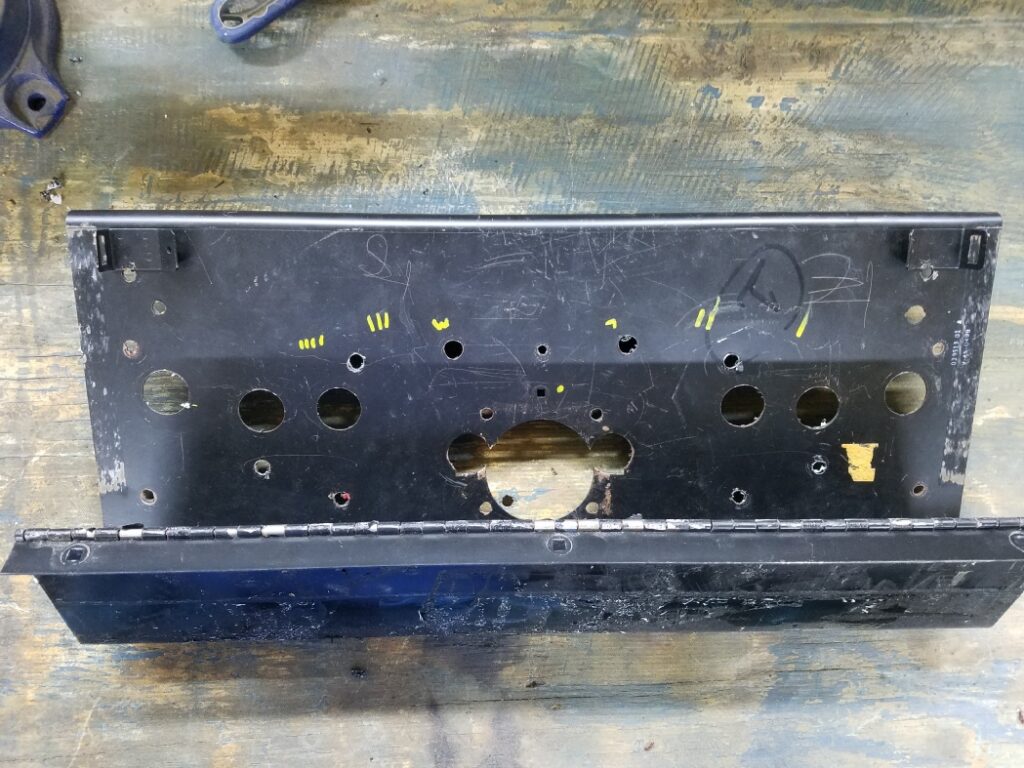

So I put CitriStrip on the control panel and put it in a garbage bag for 24 hours.
Came out today like this:

And the paint just peels right off :

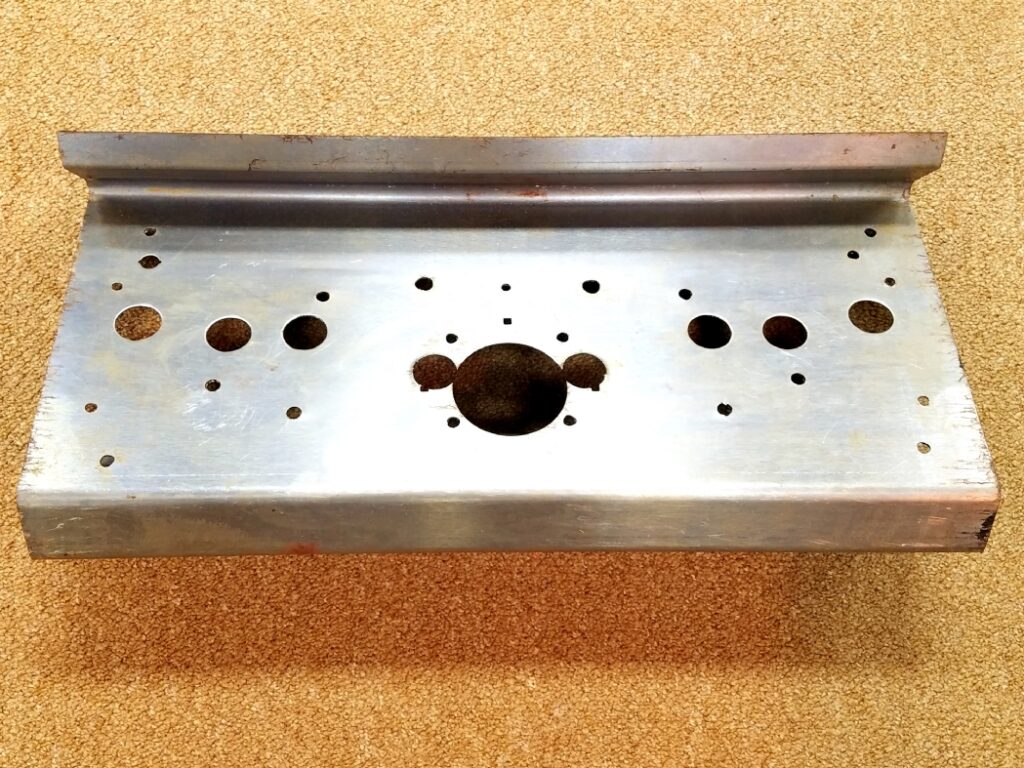
A few spots to re-do and the backside is soaking tonight.
So after finishing the stripping on the control panel I faced the facts. Just no way to save it and feel good about having it on a fully restored Quantum.
I mean over 30 holes that would need welding/filling/etc
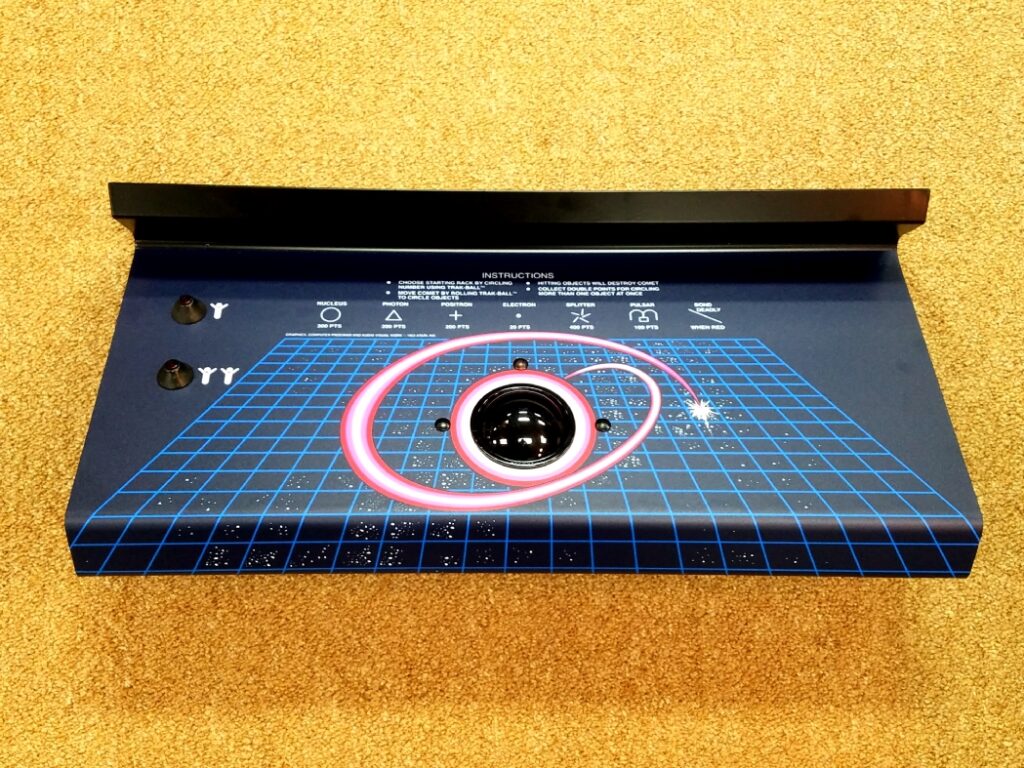
So I bought one of Takeman’s Reproduction Control Panels. I put on an awesome silkscreened CPO from member P1001. I put in a new Millipede Happ trackball. And 2 Nos Atari cone buttons from my awesome friend newsherrifintown.
Turned out pretty awesome!
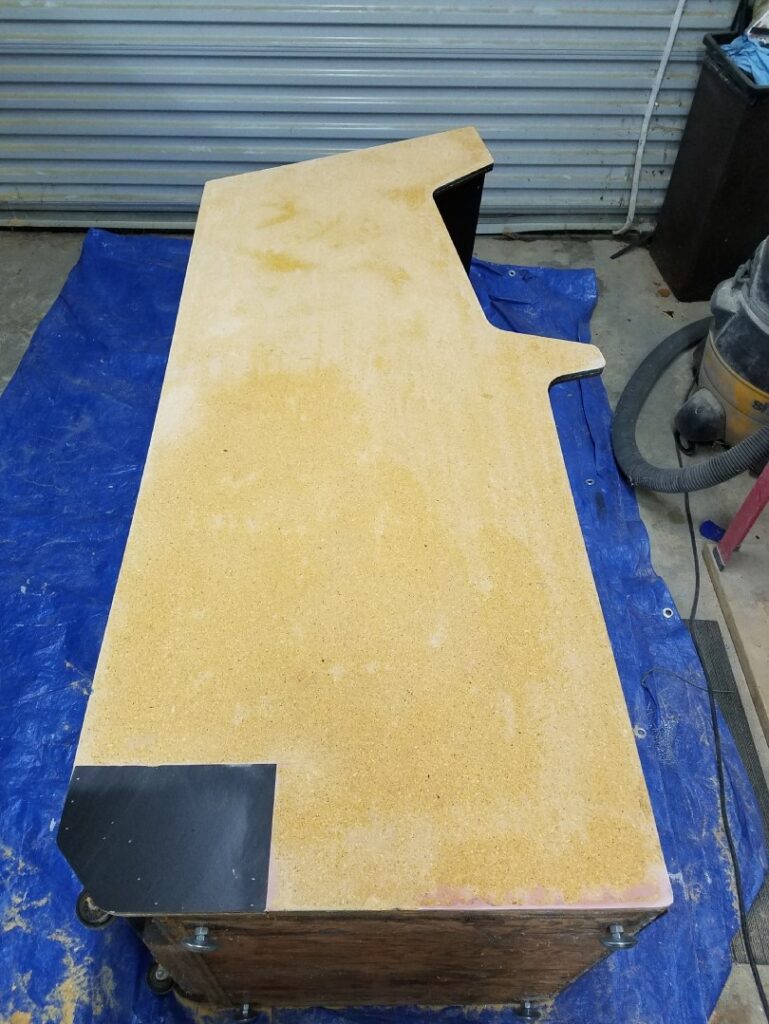
First I need to fix the sides. On this side all I had to do was Bondo and then laminate:


On this side the wood was pretty bad on the back corner. So I cut off the corner and glued in a new piece, bondo and then laminated it.


I put on the artwork and the t-molding.
On the front, I routed out the speaker hole and the bottom 2″ of the coin door slot.
I laid the artwork on the front and put a work light underneath the cab. With the light shining through I could line up the speaker slot and the bottom of the coin door.
Put on the artwork and trimmed it. Then put painter’s tape around the coin door area and routed out the rest of the coin door.

Time to strip some metal. I used CitriStrip, and let it sit 24 hours. Had to sandblast a little afterward.

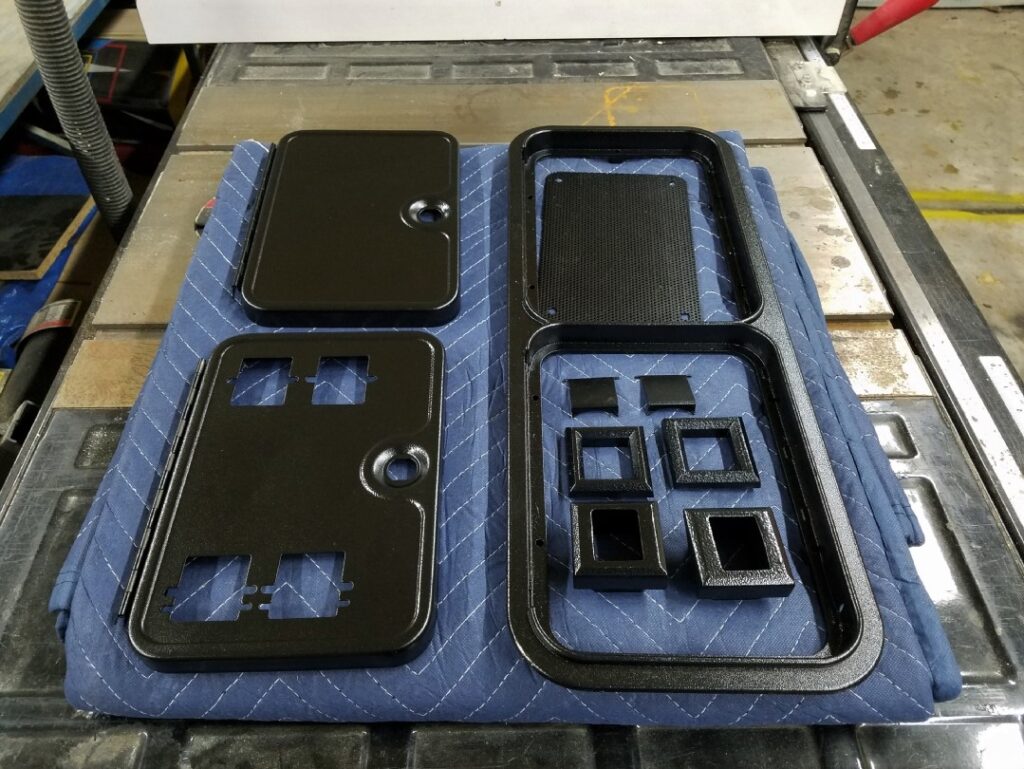
Then I powder-coated them. Black Hammertone.
Next, I painted the back of the cabinet after doing some Bondo touchups. Notice I left the original stickers.
Then I wired up the cabinet with a reproduction wiring kit. Even used the exact same screw holes to mount the wiring.

And a pic of the front with everything done except the coin door return bezel/flaps.

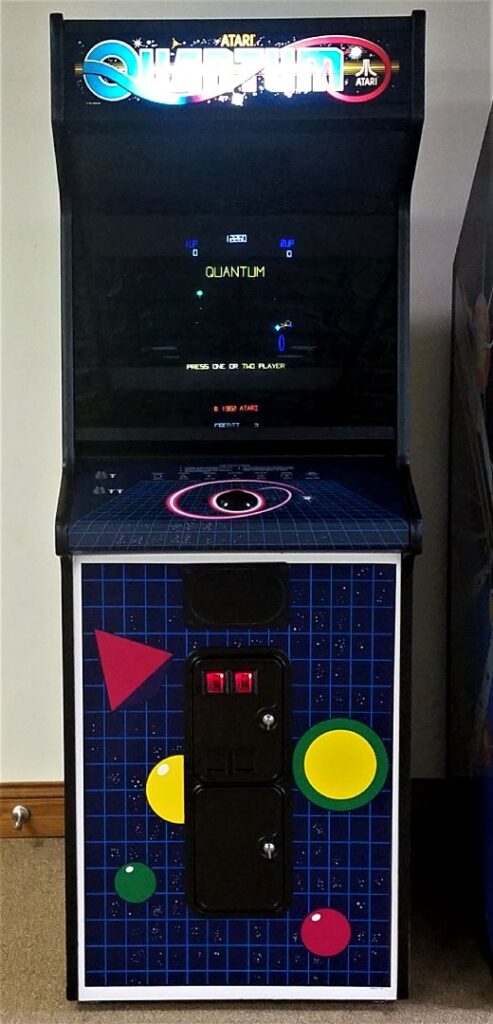
Got it done and working!