Got a Pac-Man cabaret from fellow Klover Kyle (kfuller19).
It was working, but it needs some love.
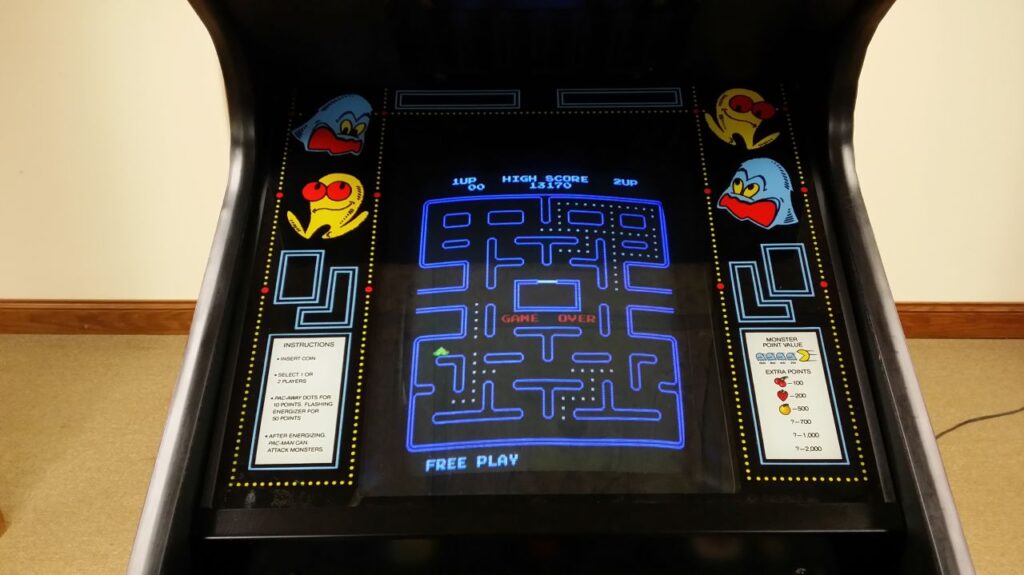
I’ve refurbed the G07 monitor (cap kit, flyback, pots, hots, etc). I also installed a HSSK and FreePlay roms with attract mode.
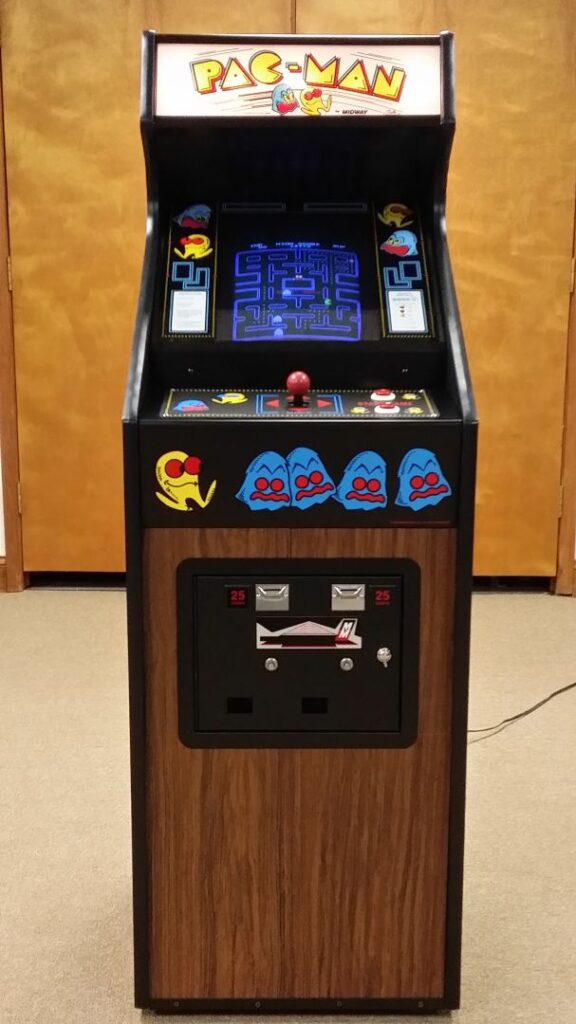
Now it’s time to restore. Here she is :

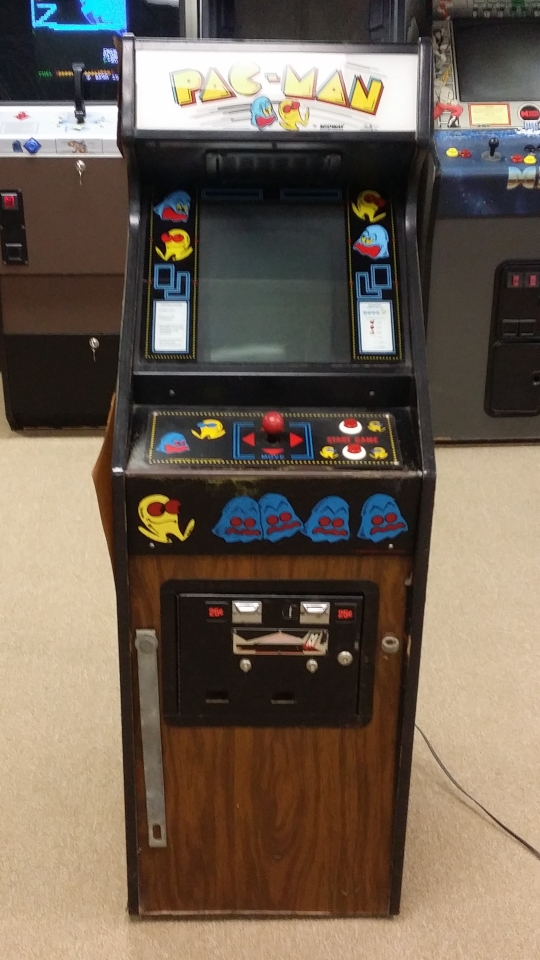


The marquee is in excellent condition as is the Bezel. So I won’t be doing anything to them.
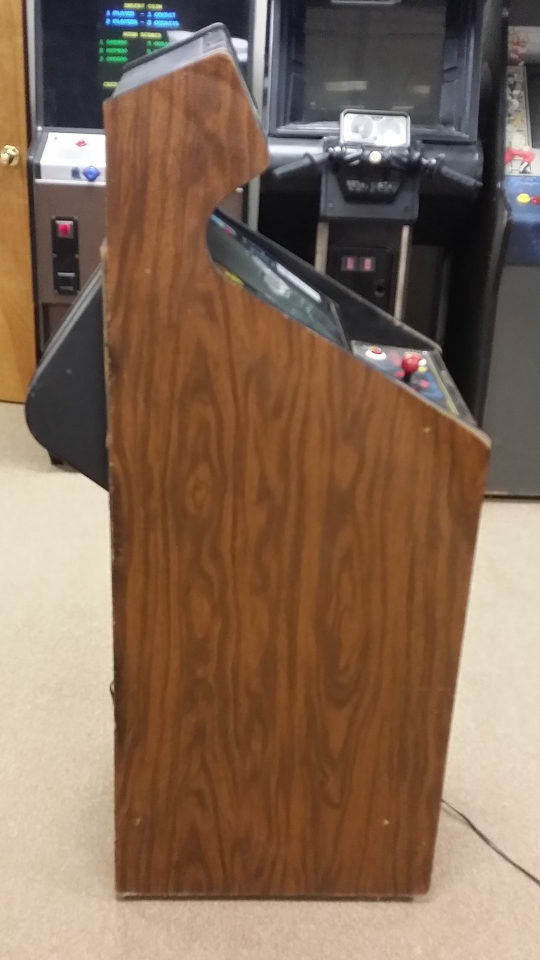
I went ahead and ordered 3M DI-NOC Marine Teak Wood Grain Wrap Vinyl. I ordered a 48″ x 60″ piece for the 2 sides. The side is around 23 1/2 x 56″ so I can cut it in half and be fine. Then I ordered a 24″ x 48″ piece for the front.
The total cost shipped was $212 shipped. Expensive but I’ve spent that much for sideart so……..
Here is a pic of the new with the old on top. The old is slightly darker but I really think it’s because it is so dirty. You be the judge.
It’s funny because when I have my wife hold it up to the side of the cab and step back, it looks almost identical.

I totally stripped it down and re-did everything.
The power supply looked terrible so I cleaned it and put it on a new piece of 1/2″ plywood :

I stripped the coin door with a wire wheel and then sandblasted the corners and impossible to reach areas. I then powder coated it with Hammered Black :

Here’s some of what I did :
1: Sand repaint all metal parts in the cab.
2: Sand and repaint marquee brackets/bezel brackets/coin box top
3: Make/Paint bottom protective L-brackets
4: Simple greened the monitor/chassis
5: Sand/polish all chrome pieces.
6: Prime sides/front with 3M adhesive primer
7: Install 3M wood grain vinyl
8: Clean buttons/joystick and repaint joystick
9: Install CPO on Takeman’s reproduction CP
10: Rebuild CP
11: Install t-molding
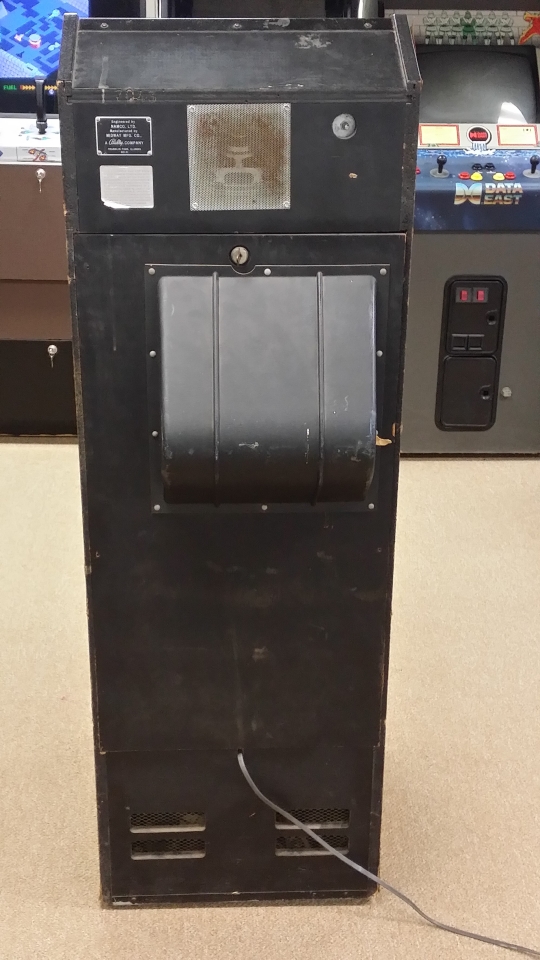
12: Sand/Repaint back door
13: Install new locks
14: Put everything back together.
And here she is:


And here are some After/Before side by side pics:


