I bought a Nintendo Dual System off CL a couple of months ago. It was not in great shape but everything worked so I gave $300 for it.
I really wanted one because I remember playing Super Mario Bros on one as a teenager at the local arcade. This one has Super Mario Bros and the wonderful Golf (I probably will change that out later)
I brought it home and re-capped and fly-ed the Sanyo 20ez’s. They are looking good now. I also re-capped the sound boards and got rid of a lot of the hum. I also cleaned/restored the joysticks.
Now it’s time to restore the cab.
I’m going with laminate because I haven’t before and I want to try it.
I’m going to go with a Red/Black/White theme like this :


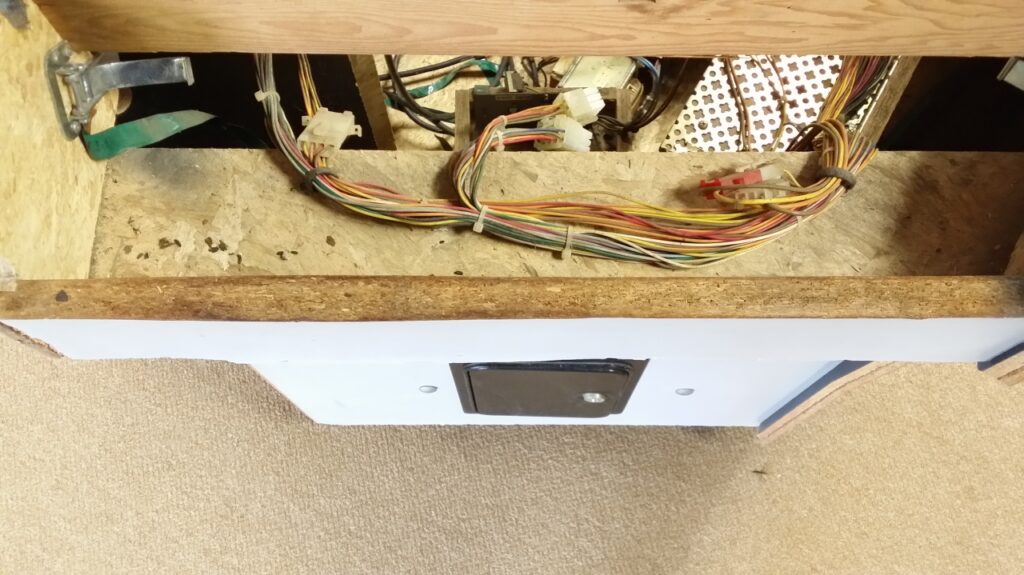
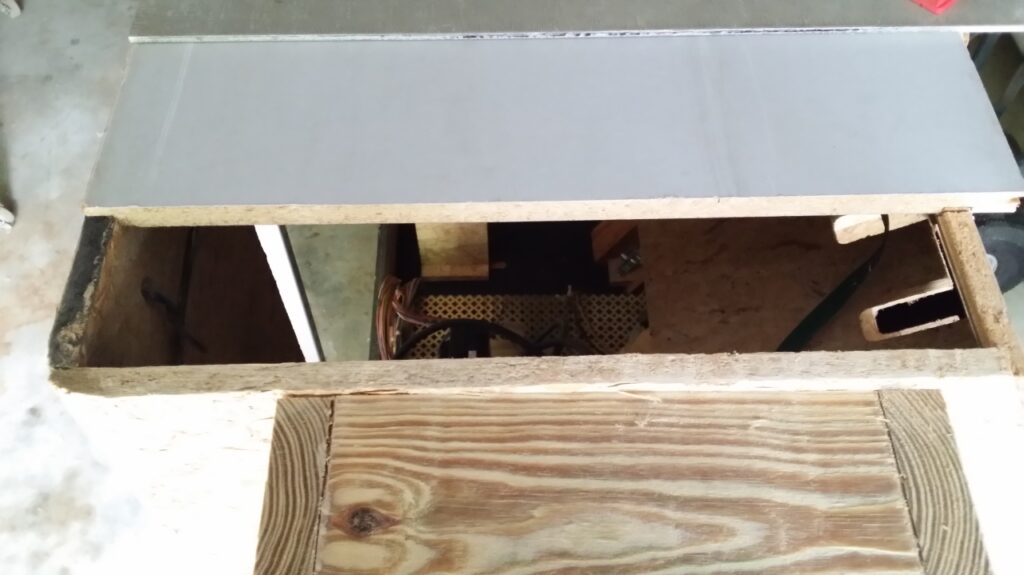
Here are the insides and yes I have no back door. It will need a 4’x4′ door at least, that back door is huge

- And here’s the laminate I will be using :

Pulled off the CP’s. They had cigarette burns, tears, scratches and lot’s of dirt.
Here’s they are :

I threw them in the powder-coat oven and ripped off the cp’s. Unfortunately, it left a ton of adhesive.

I tried to use paint stripper but that darn adhesive wouldn’t come off. So I had to use a steel brush wheel on my drill. It took about 45 minutes to clean them off.
Got the new CPO’s on. They weren’t fun. They were older I think and the adhesive wasn’t very good. Fortunately, I had some 3M spray adhesive which helped a lot.
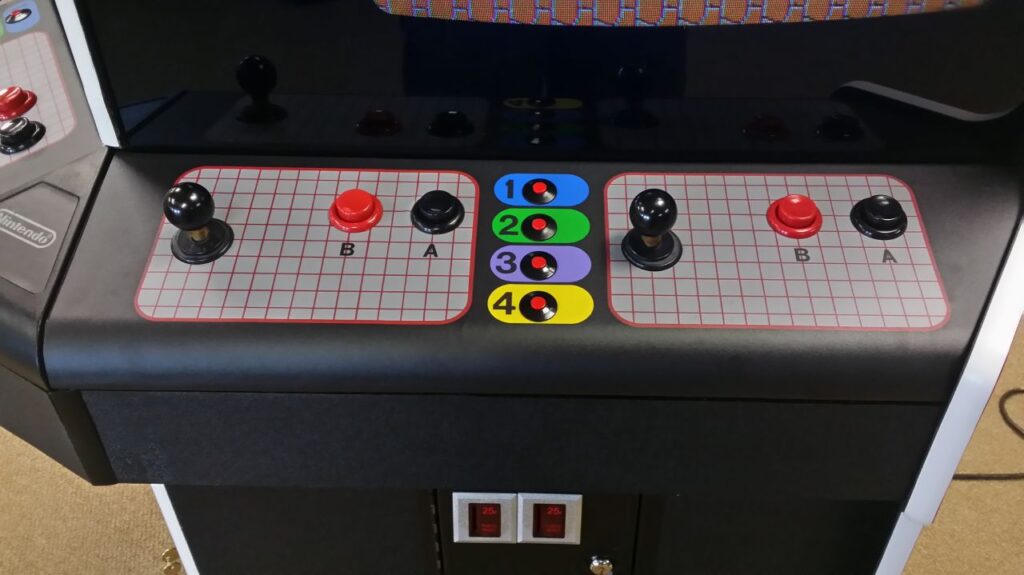
I had already refurbished the joysticks. So I had to clean up the 8 volcano buttons. The red/blak A/B buttons were trashed (cigarette burns and faded) so I bought some replacements from Mike’s Arcade
https://www.mikesarcade.com/cgi-bin/store.pl?sku=MDST-12-17
https://www.mikesarcade.com/cgi-bin/store.pl?sku=MDST-12-21
Of course, as most people know they are a tiny bit too big. No problem, I used a Dremel sanding drum and widened the hole a tiny bit, it literally took 5 minutes to do all 8 buttons.
And here is the finished product :

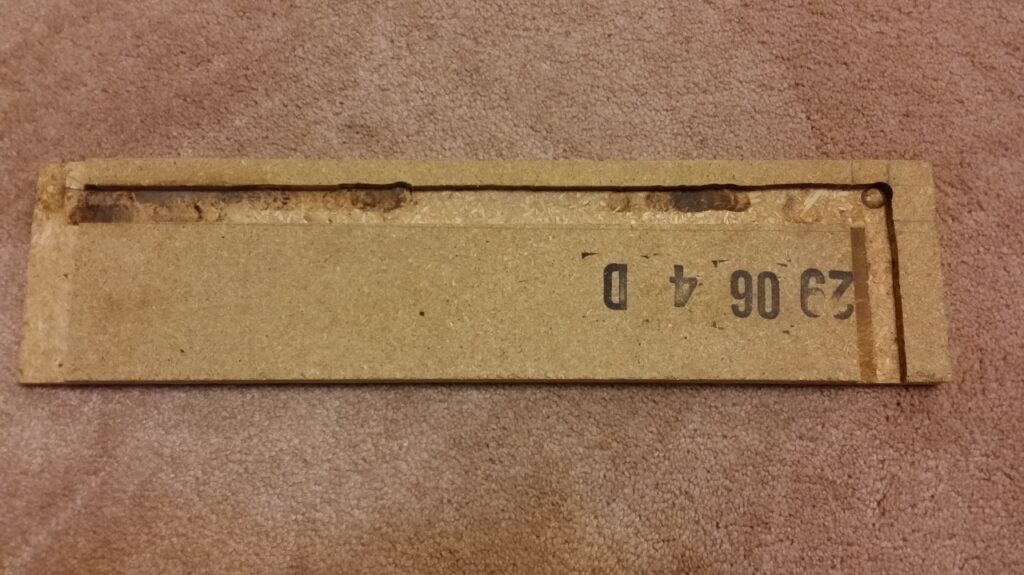
First is the base. It was trashed, so I built a new one.
I used 5/4″ x 6″ treated deck boards. They are 1″ thick so they match what was on there. They are planed so I cut both sides off to make them 4.5″ as per the original. I then just copied the cuts and angles.
Here’s how it looks after gluing and nailing it on.

Next I had a piece of wood beneath the CP that was swollen real bad.
I eased it off and then copied it with a new piece of 3/4″ particleboard.


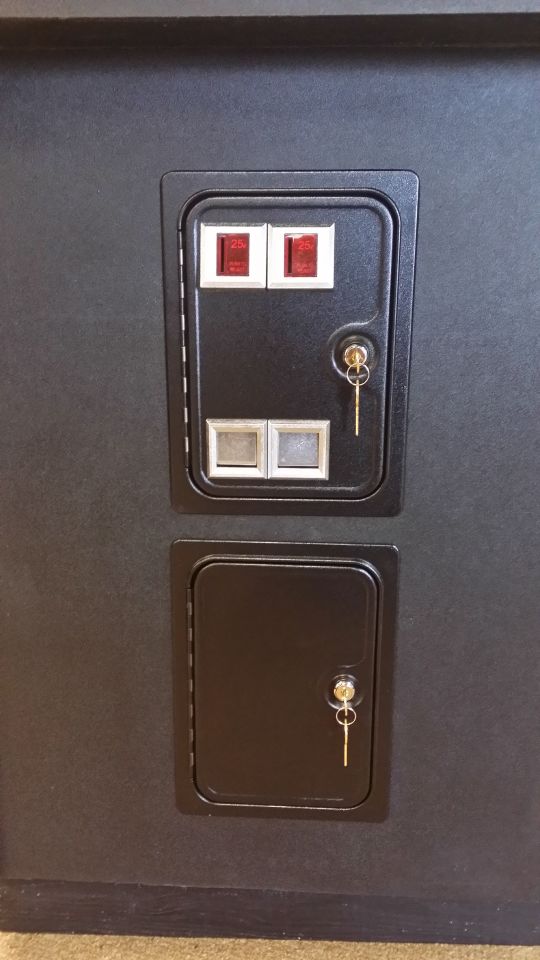
Next up was the coin doors.
They are a mess. Heavy rust and dents. And the inside lips of the frames have broken metal from people breaking into them.

I am going to do what I can with them.
So first I disassembled everything. Then I threw all the shiny parts in my tumbler with walnut shells. Left them in there all last weekend.
Then I used paint stripper on the doors to get off most of the old paint.
Unfortunately I was left with a ton of rust as you can see on the right door below. So I had to use a wire brush on my angle grinder to try to get the hard stuff off. It turned out pretty good as you can see on the left door below.

I still have some left to do in the corners, but 6 hours of work left me to beat to totally finish.
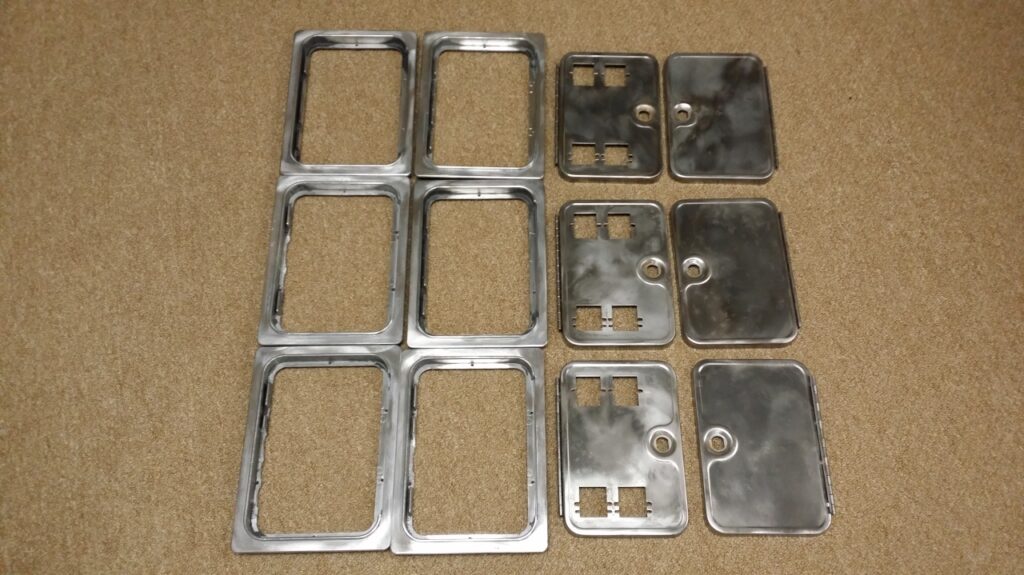
You can see in the above pc all the broken and missing metal on the frames.. I’m still going to use them as I don’t have any replacements.
Also, you can see the top right door was beaten to Hades. I spent almost an hour with Body Shop tools getting it straight, but it needs some more work before it’s good enough to powder coat.
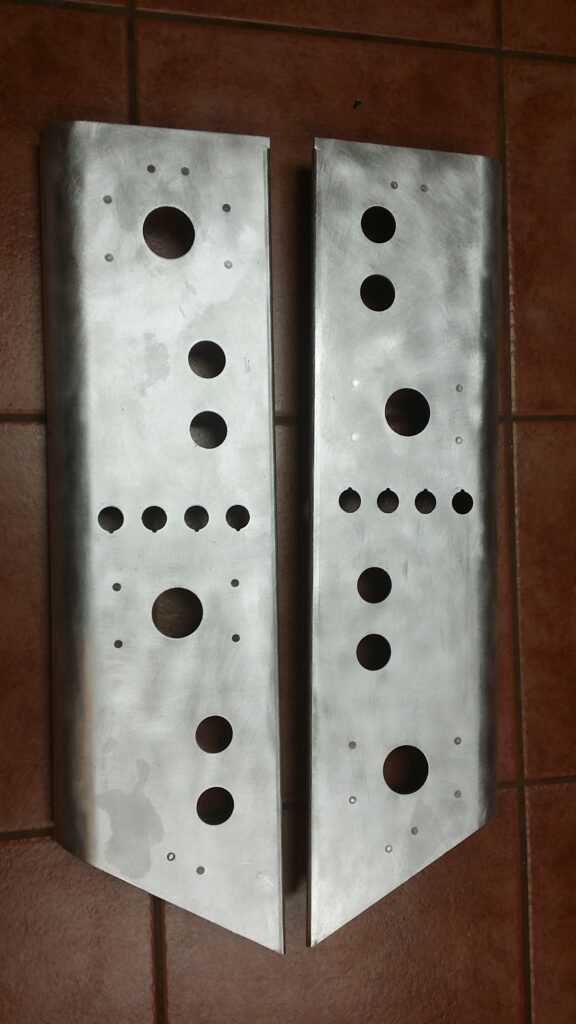
I also stripped the marquee and other metal and it’s ready for paint.

Here are some of the more challenging parts of the cab I am currently in the process of fixing, either by replacing wood or Bondo.


Worked a little more on it. I tackled the bottom edges first.


Here’s what I did.
1. Draw a line where I want to cut it off.
2. Measure 5″ back where the circular saw guide needs to go.
3. Clamp a square to the cab for the circular saw to run down.
4. Set the circular saw level where it only goes as deep as the wood.
5. Cut out the offending wood.

Now I had to do the following.
1. Cut a new piece of particle board of the right length and width.
2. Route out the 3 areas where it will set down on the front/back/bottom of the cab. (In the pic below you can see my first failed attempt with my router. I had the wrong bit LOL. But it gives you the idea of what I had to route. I got it right when I got a new proper bit)
3. Using a biscuit joiner cut three notches and put in the biscuits with glue.
4. Glue the routed areas and biscuits.
5. Attach and nail in new piece.
6. Sand adjoining edges smooth.
7. Round off front corners with router.

I made a back door today.
Cut it out and routed the sides. Then added some supports to the bottom. I need to add a lock.


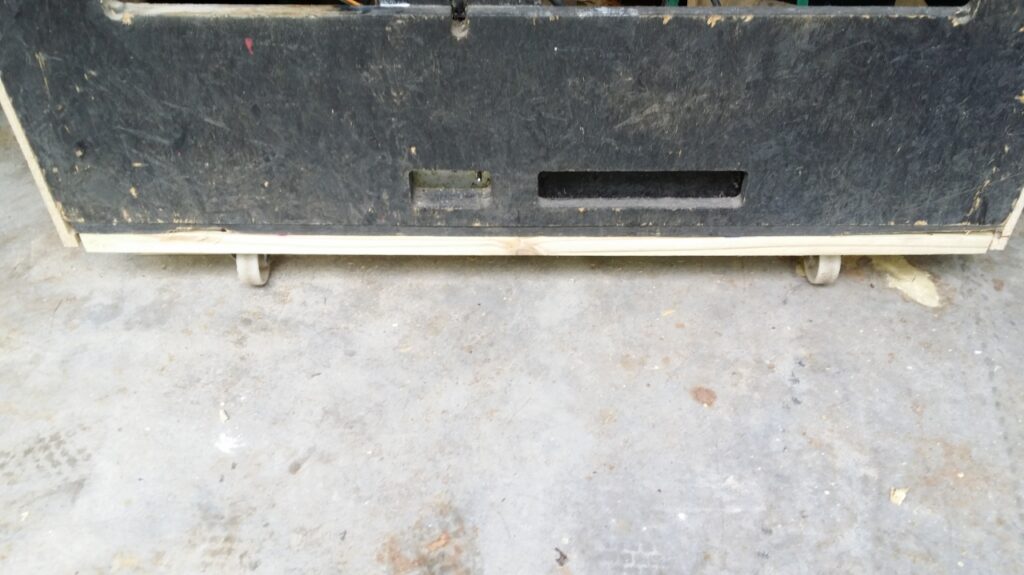
I also added a 1″ support and wheels to the back .
I also bondo’d the edges and put dowels in and bondo’d the holes on the front where the security bars were.
Got everything done except I’m waiting on some custom marquees.
Here she is:


And after I changed the Marquees to something much better looking:

So here’s what I did.
First I painted all the black parts with automotive flat black primer.
Then I laminated the 2 sides and front.
I used this for the red:
http://www.reliablehardware.com/abslaminatered.aspx
And this one for black :
http://www.reliablehardware.com/abslaminateblack.aspx
I used contact cement, put it on, and then used a flush router bit to trim it on the sides.
On the front, I used a utility knife and straight edge and cut the pieces to size and then put them on with contact cement.
I also powder coated all my metal parts. Satin black for marquee pieces and hammertone black for coin doors.
Overall this may be my best-looking restore ever. It looks so good in person, I don’t think this is going anywhere.