I got the top started. Cut up the screen casing the way I wanted it. Then cut up the top half of the Datamax to fit it in.
Then I used Abs Cement to bond it together. This will need to dry for 2-3 days before I can move on to the next phase. Notice the black tape. I put black duck tape over large gaps and then fill it in with abs cement from the other side. The tape helps hold it until it is good and dry. Then just peel off the tape.
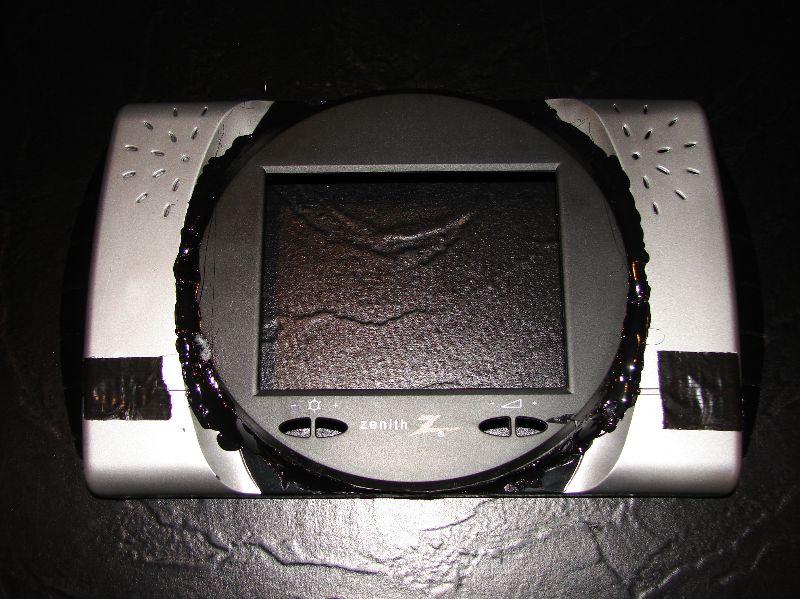
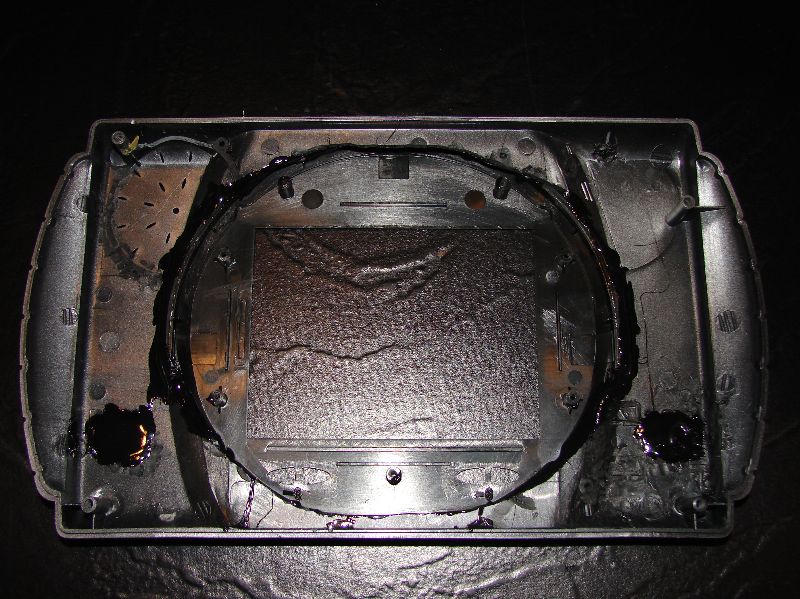
I flush mounted the screen instead of having it raised like in my Ncube. I was hoping for less epoxy and sanding on this one, plus I don’t think I need as much room inside as I did with the Gamecube. Hope I don’t regret it later.
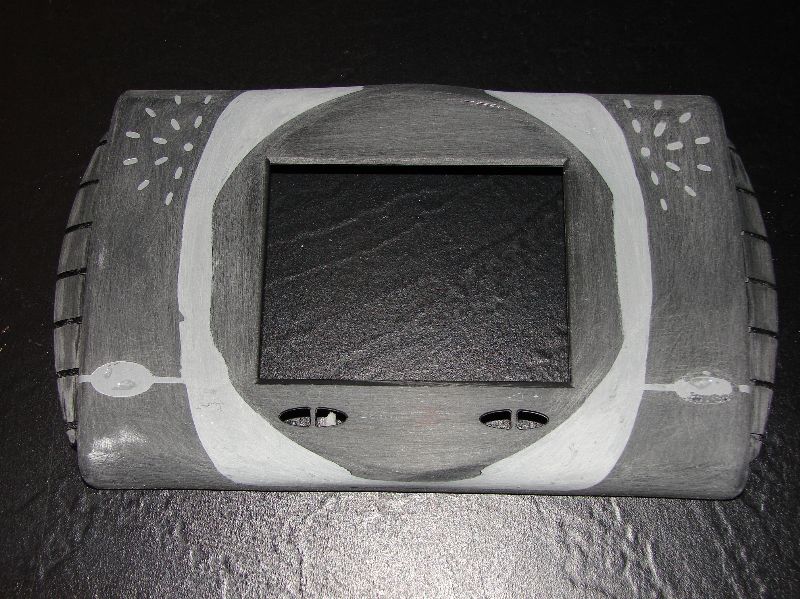
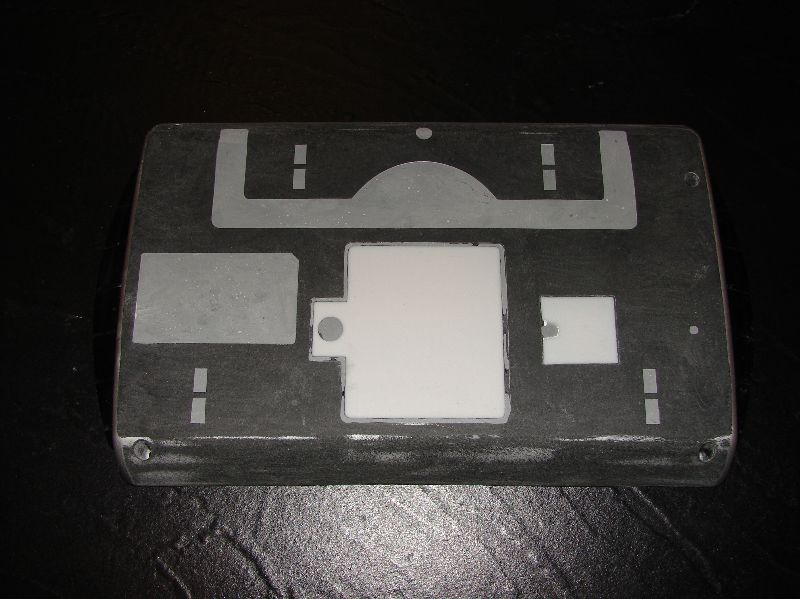
The “rough” fill in coat of HardSet Filler is done :

Time to fill in the speaker holes, buttonholes, and do the second coat of Flex Filler.
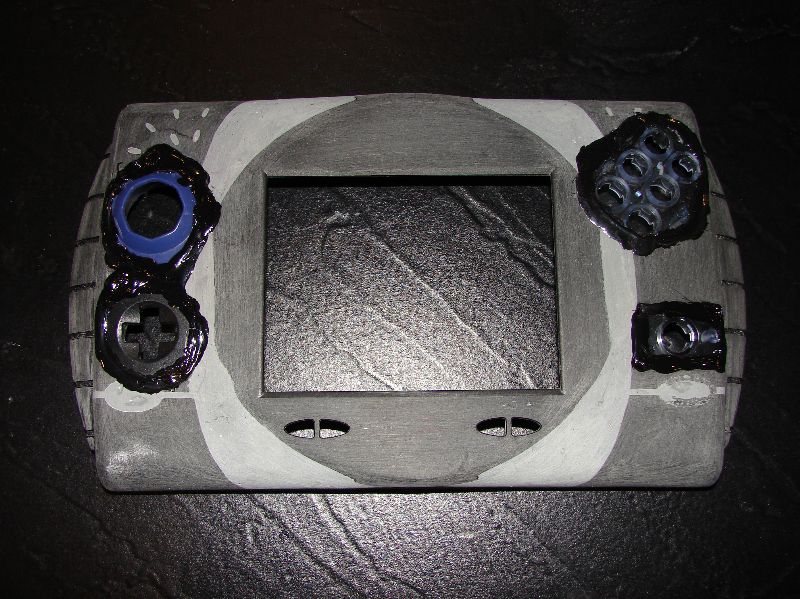
Second coat of flex filler done. One more small coat over the button holes and I’m ready to put in some buttons and thumbsticks
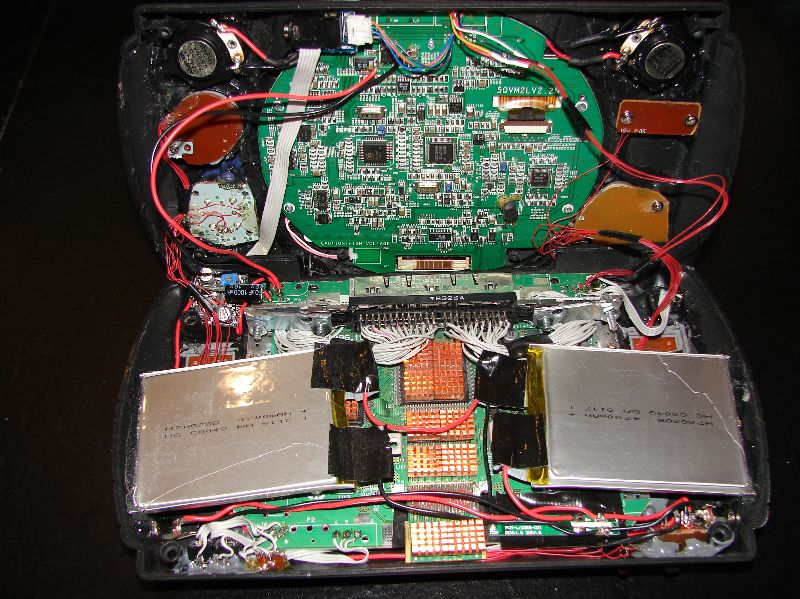
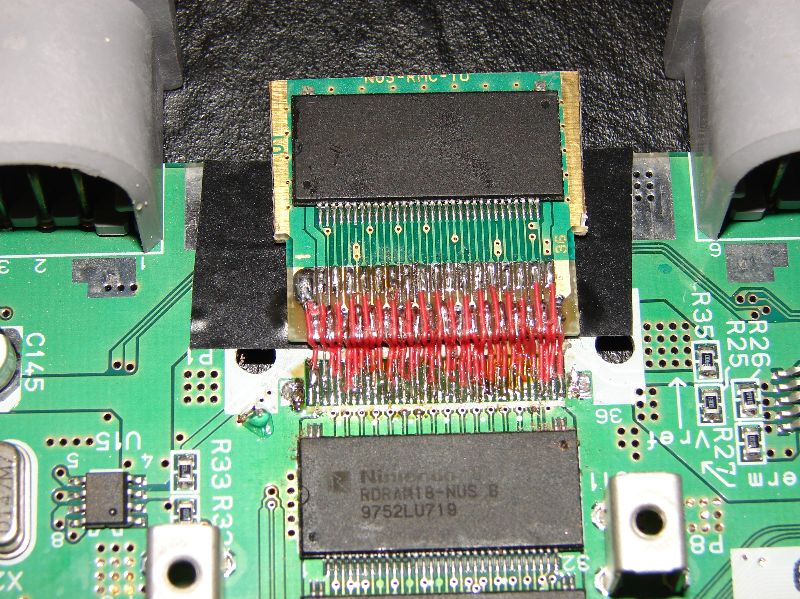
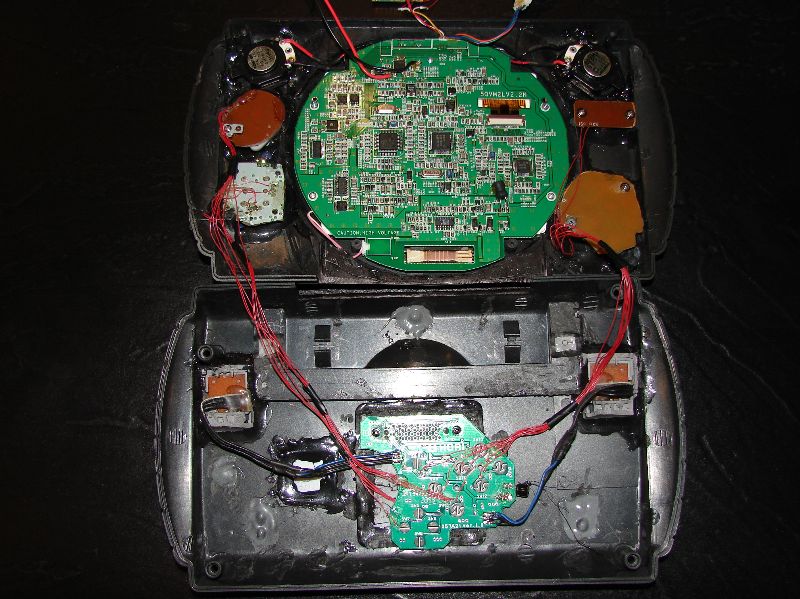
I decided to do the expansion pack relocation. It was a big fat pain in the butt. 36 tiny wires. Each one had to be stripped on both ends while being held with tweezers. Then I had to solder them using tweezers and a lighted magnifying glass.
Got the whole thing done, triple checked everything, turned it on, ………. and NOTHING….
Checked for shorts and found none. Was about to give up and I found it, one tiny loose wire.
Soldered it back on and perfection.
Now if anybody says anything except words of awe and praise for my work, I will hunt them down and beat them with a dead cold blooded penguin.
Stayed tuned for more……………..When I can actually see again.
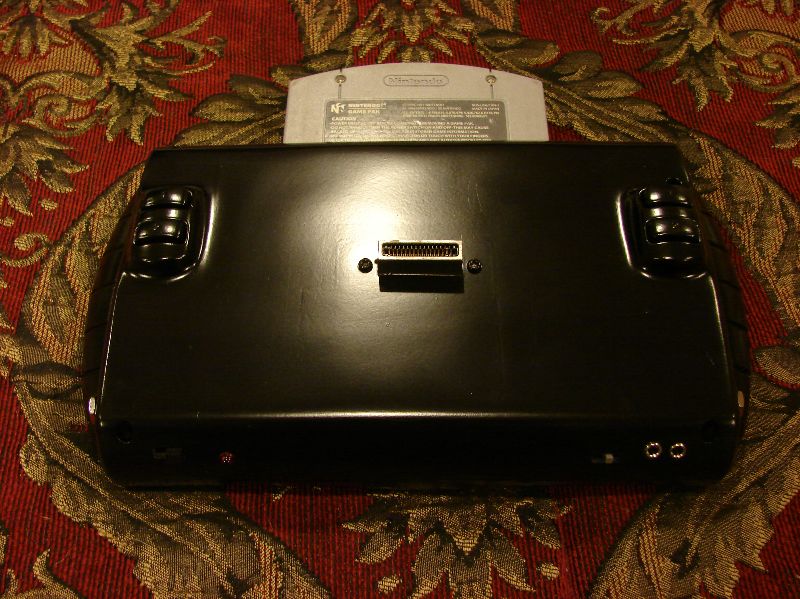
Finished the cart slot relocation and I added copper heatsinks on the chips:
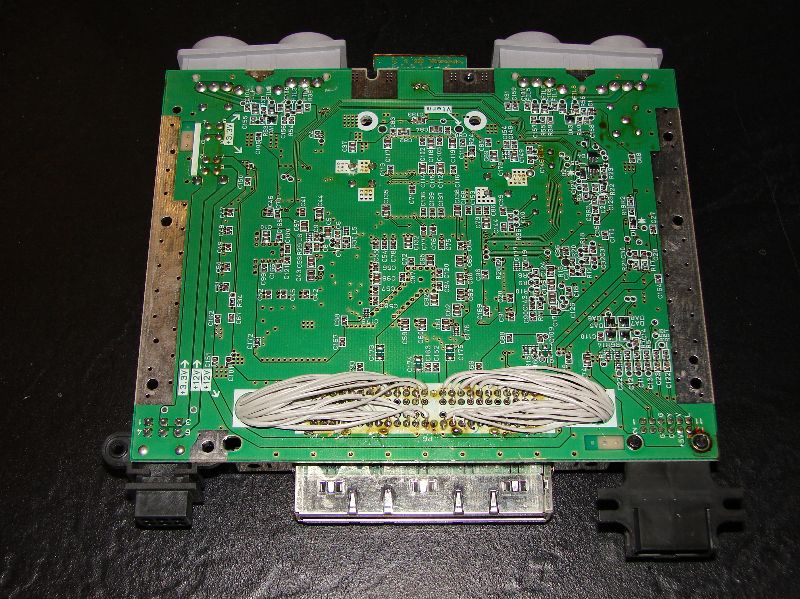
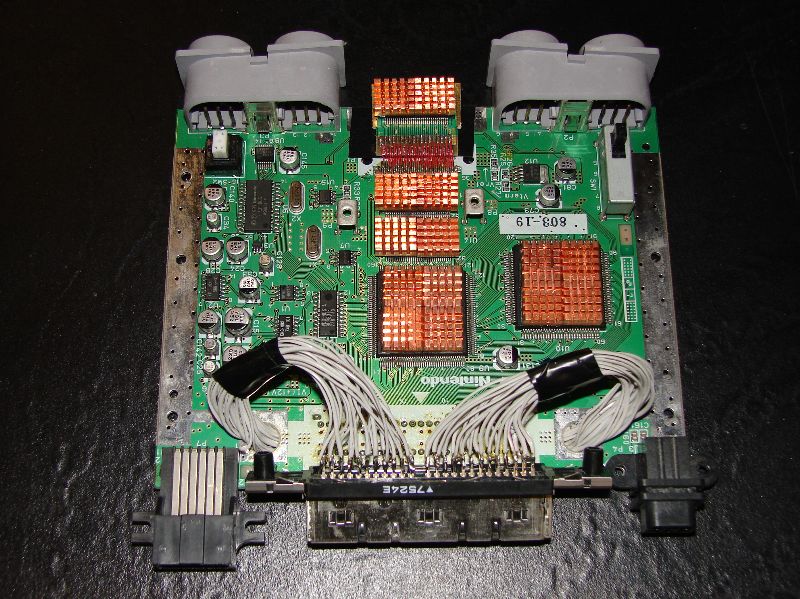
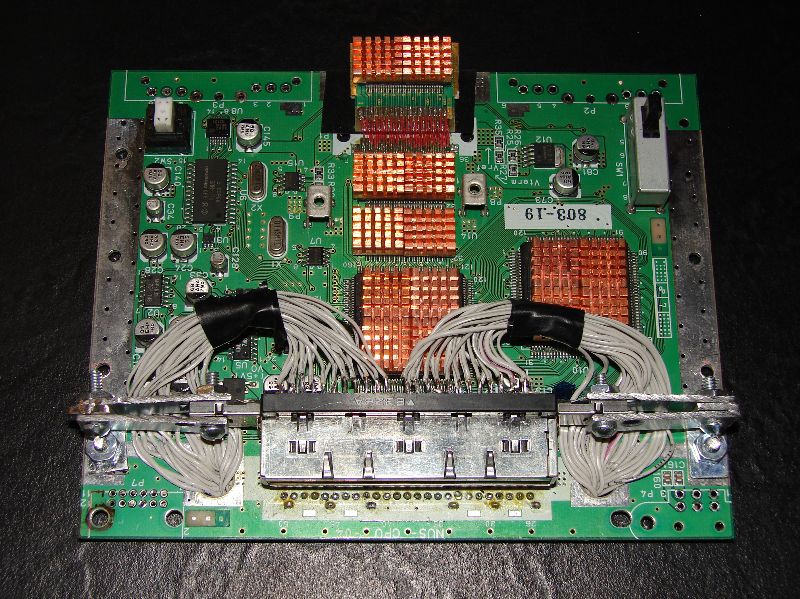
Finally got the cart slot mounted the way I want it.
I used small L brackets and some pieces of metal from angle brackets along with #8 nuts/bolts.

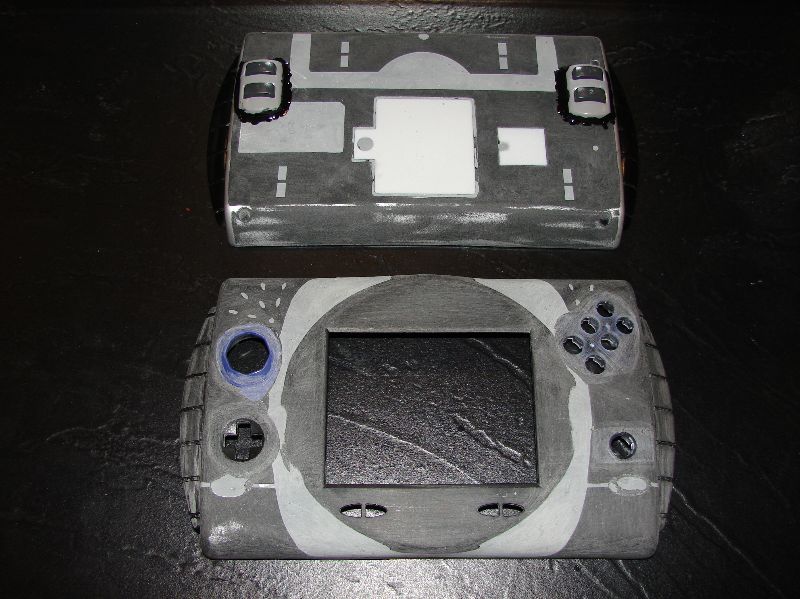
I have the back ready for the PS2 triggers. :
And the front controls/buttons are abs cemented in and drying :
More progress. Sanded down the Abs cement on the front.
Cut and added the PS1 triggers on the back.
Slightly blurry couldn’t find camera batteries so I snapped off a quick one before total shutdown.

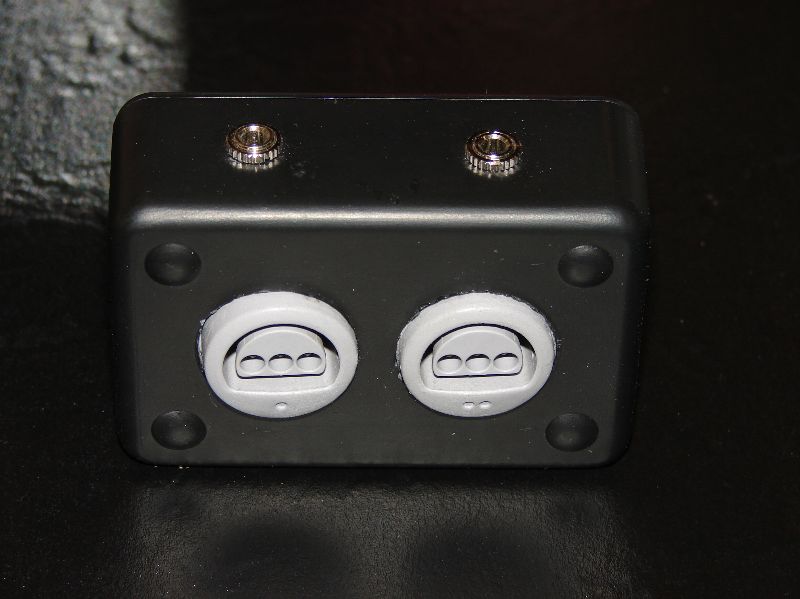
In the meantime, I made a 1st and 2nd player port adapter breakout box.
I used a RadioShack project box.
And 2- 3.5mm stereo jacks:
Then I put two more in the portable. So when you want to play with external controllers just plug in the extension box. Plug the first one in for the first player or the second one for the second player, or both
A look at some of the interior before it gets to cluttered
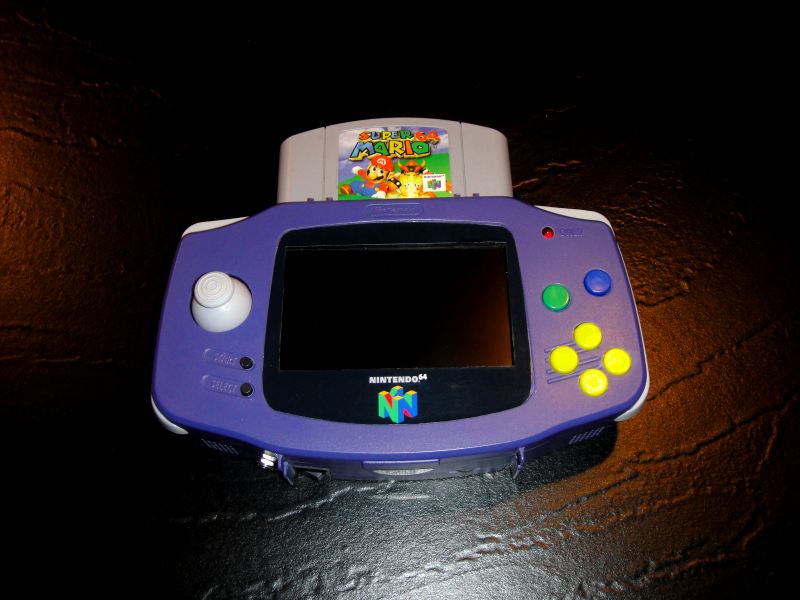
A finished pic :