So I have another commission for an N64 Portable.
It’s going to be quite similar to the Kamikaze.
Details :
1. Case – Kidz Datamax
2. Screen – Zenith Psone 5″
3. Batteries – 2 7.4V 4700 mAh Lithium Poly’s
3. Donor Pad – SuperPad 64 or Mako Pad and PS1 pad and Gamecube Pad.
4. Triggers , Z buttons – Ps1 triggers again.
5. Memory card slot will be included inside hardwired
6. Expansion pack will be included
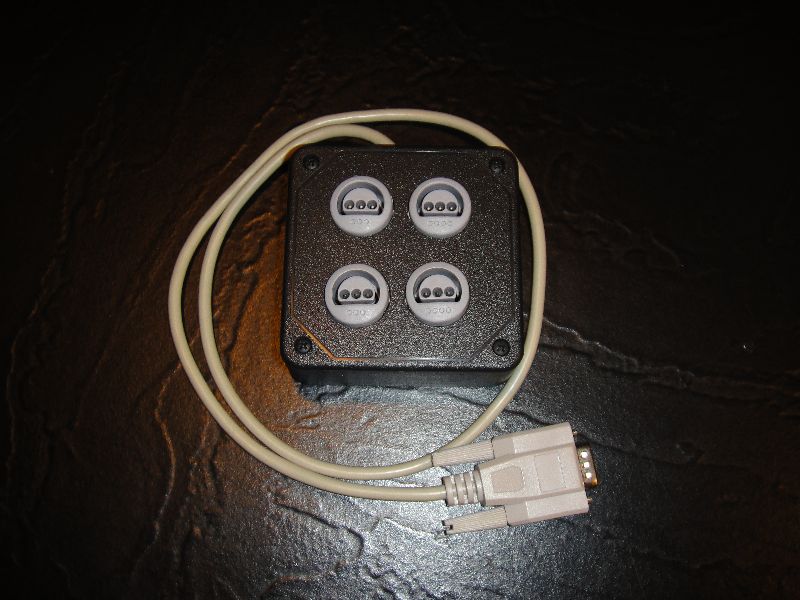
7. 4 external controller ports.
8. Battery/Wall adapter switch and jacks will be included.
9. Cart slot will be internal and re-located.
10. Headphone jack included
11. Case Color = Black
12. A/V out
Will get started tomorrow and update as progress is made.
The one , the only, Internationally known , Hailrazer. ![]()
Finished
It’s finished ![]()
Build log :
http://forums.benheck.com/viewtopic.php?f=5&t=36332” onclick=”window.open(this.href);return false;
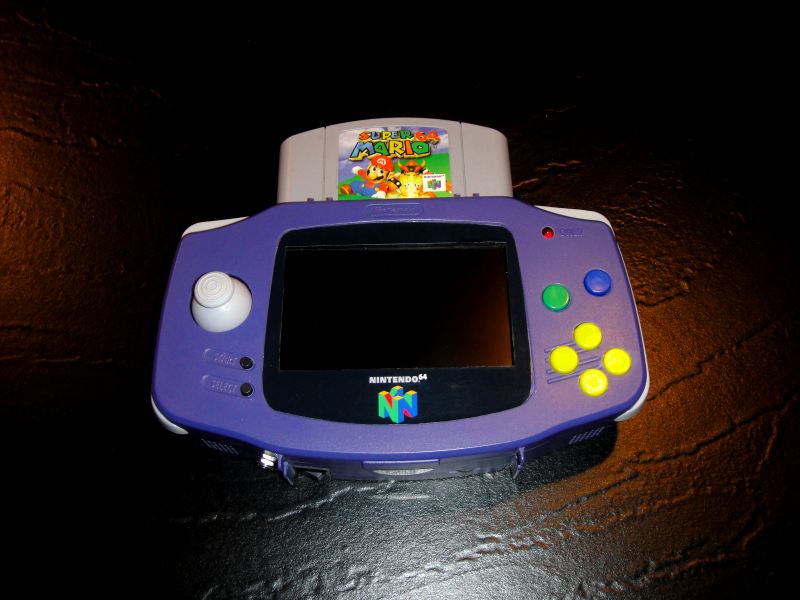
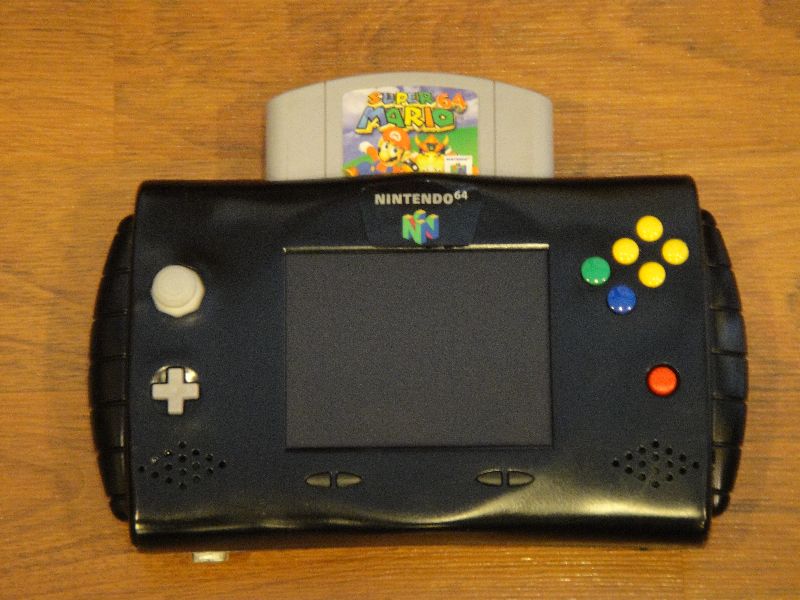
Front :
I added the N64 logo from the original N64 to the front ![]()
Gamecube Analog stick and D-pad.
SuperPad A,B,and C-Buttons and Start Button.
Back :
Ps1 triggers for L and R and double Z triggers.
Top Right is a switch for the screen to turn it off and on.

Right Side :
Top is A/V output in the form of a 3.5″ jack.
Bottom is wall power jack from Psone 7.5v Wall Adapter.
Left Side :
Top is headphone jack.
Bottom is Lithium Polymer Charge jack.

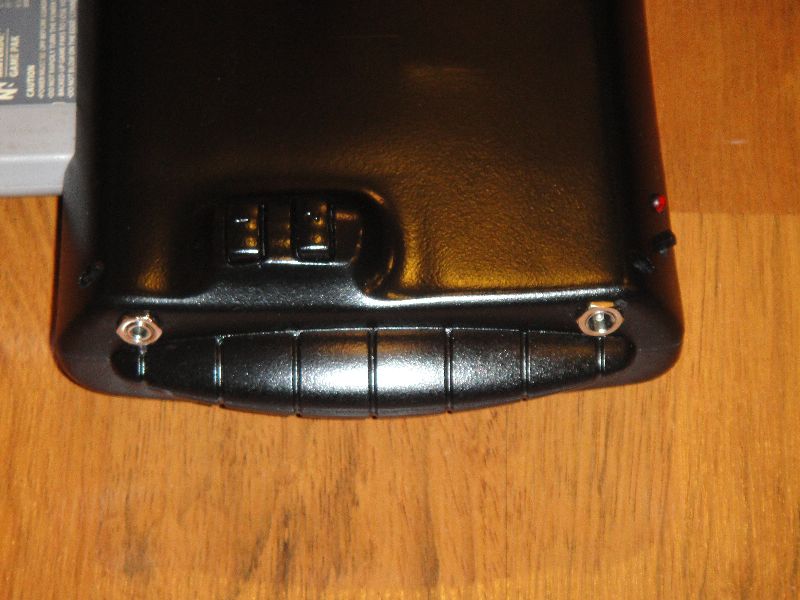
Bottom Front :
Left Side is a 9 pin Serial Port for the 4-Controller Breakaway Box.
To the right of it is the switch for 1st Player built in controls or external 1st Player controller.
Right side is Power switch. Left is Wall Power and Right is Battery Power. Next to it is the Power Led.

BreakAway 4 Player Box.
Got everything torn down and started N64 work and Casework..
Here’s the rough in plumbing ![]()
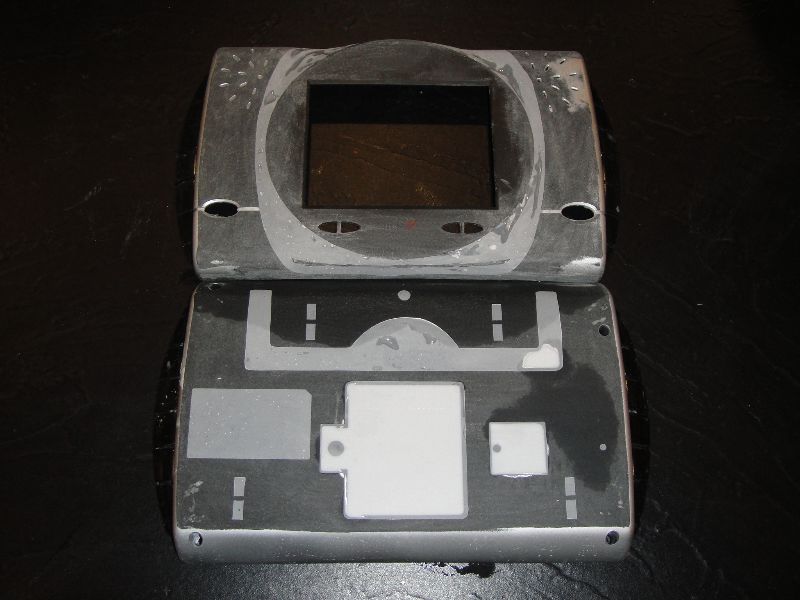
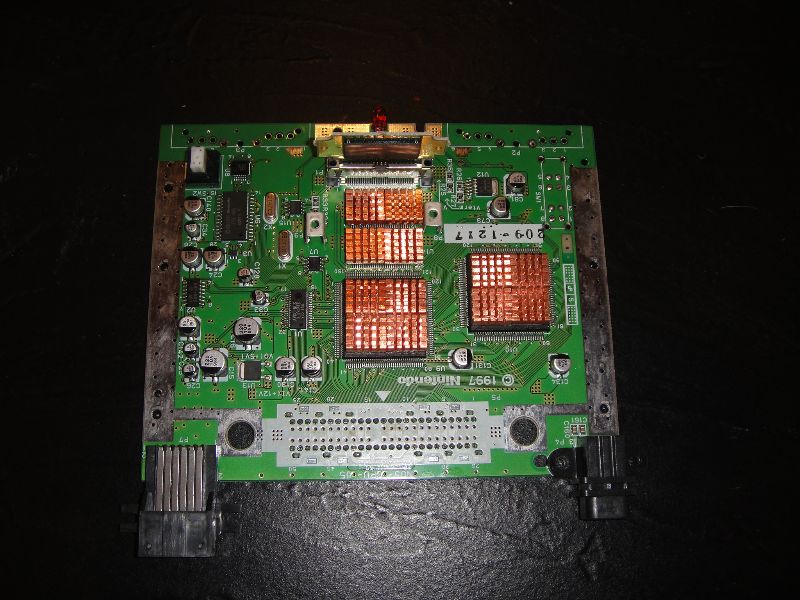
Cart slot re-located. Expansion Pack re-located. All jacks removed.

Cart slot mounted to board :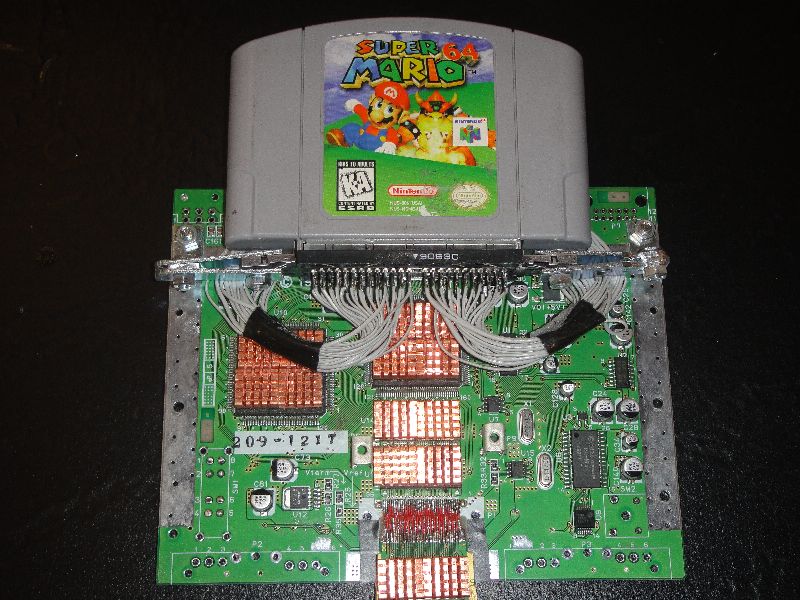
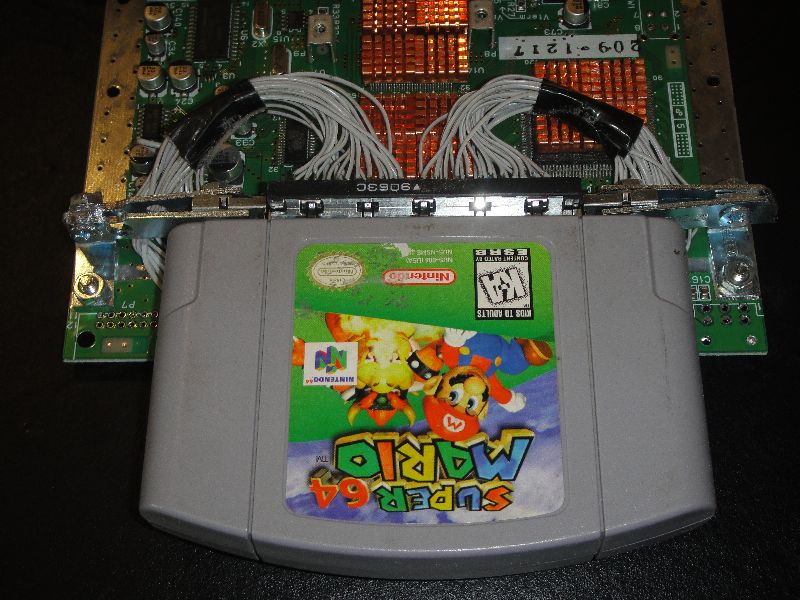

Board mounted in case and cart slot hole cut :
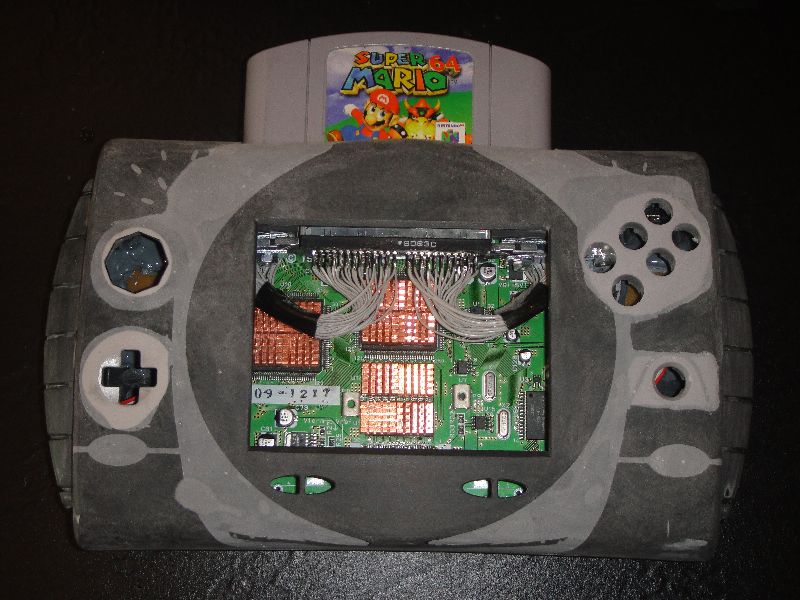
All jacks (power/charge/AV/Headphones) cut and checked for installation :

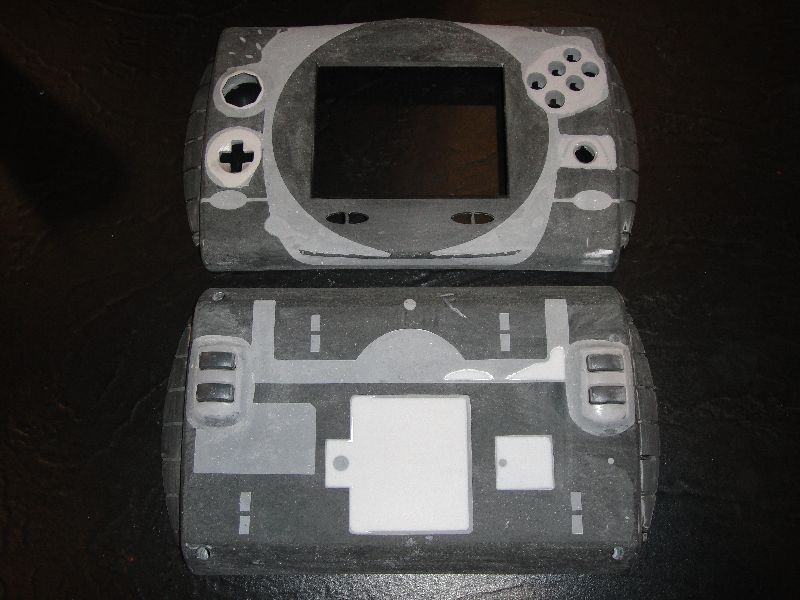
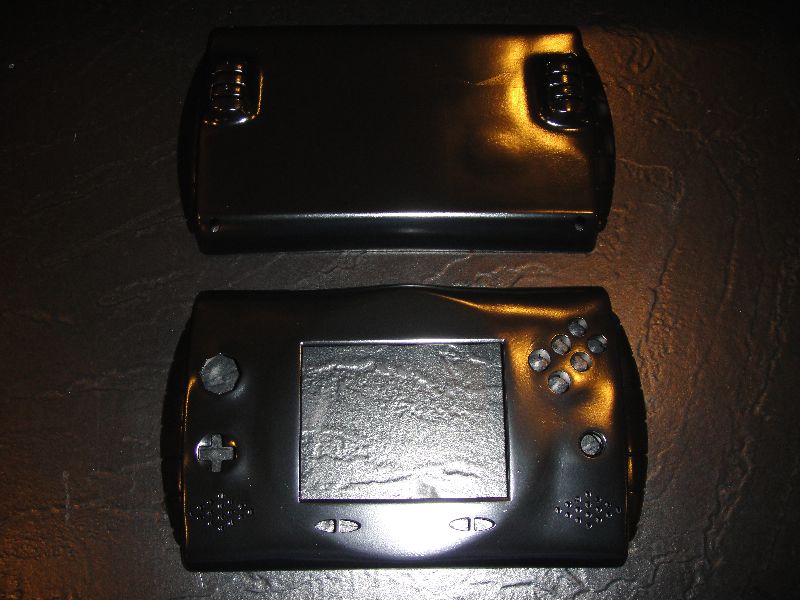
First coat of paint done. Yea now I can see all the flaws. ![]()

Final paint coat done.
Wired up all the controls and tested them. A OK !! ![]()
